I like IoT gadgets. But I don’t like the most of home IoT devices on the market. Because they force me to use the app they provide.
One day, my old thermometer and hygrometer begun not to work anymore. While I was looking for a new one, I didn’t find what I want; simple, sturdy, but cheap. And I found that actually a small Arduino compatible board with a sensor cost much less.
Preparation
The board and the sensor
After some Googling, I found a seller in Germany; AZ Delivery. At that time, ESP8266 board was on sale. I bought 3 of them. I also bought the temperature and humidity sensor.
Tools
Fortunately, I already have a tester, a breadboard, and some jumper wires to test.
The Wire …
After I got the board, I begun to look for the right USB cable.
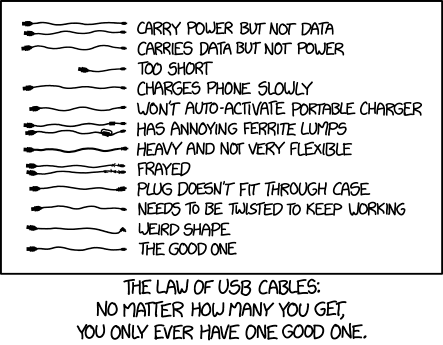
Indeed, the xkcd cartoon was right. I have plenty of micro-USB cables but working with data transfer was only one.
Software
It was quite a long time when I looked into Arduino last time. Since then, it is upgraded a lot. I downloaded v2. https://www.arduino.cc/en/software
Configure the Software
Although ESP8266 board IS compatible with Arduino, the IDE does not recognize the detail of the board automatically. Thus, I had to add the board manager file.
It can be done manually by copying and pasting the URL of the board
manager onto Additional board manager URLs on File > Preferences...
menu. For your information, the URL for ESP8266 is
https://arduino.esp8266.com/stable/package_esp8266com_index.json.
But there is an alternative and more convenient way. On the left of the
IDE, there are some icons. Among them, the second, the shape of a
Arduino board is the manager of board managers. In there, you can
search and install one named esp8266 by ESP8266 Community.
Test 01. WiFi
After finding the right, data-transfer-possible USB cable and installing and configuring Arduino IDE, I tested the WiFi functionality of the board. I was a bit skeptical that this little guy can work being a fool that cannot think of what modern mobile is capable of.
1 2 3 4 5 6 7 8 9 10 11 12 13 14 15 16 17 18 19 20 21 22 23 24 25 26 27 28 29 30 31 | |